meryn is a workspace for building marketing mix models (MMM): you upload spend and revenue data, and meryn fits a statistical model that explains how much of your revenue each marketing channel actually drove, then tells you how to reallocate next quarter's budget to get more out of it.
Everything happens on the canvas — a project made of boxes ("nodes") you connect with arrows. Each node does one job: one holds your data, one tells meryn what your columns mean, one trains a model, one turns a trained model into a budget recommendation. This page walks through building one from scratch. Every node is covered in far more depth in the node reference — this page is about the shape of the whole workflow, not every parameter.
1. Create a project
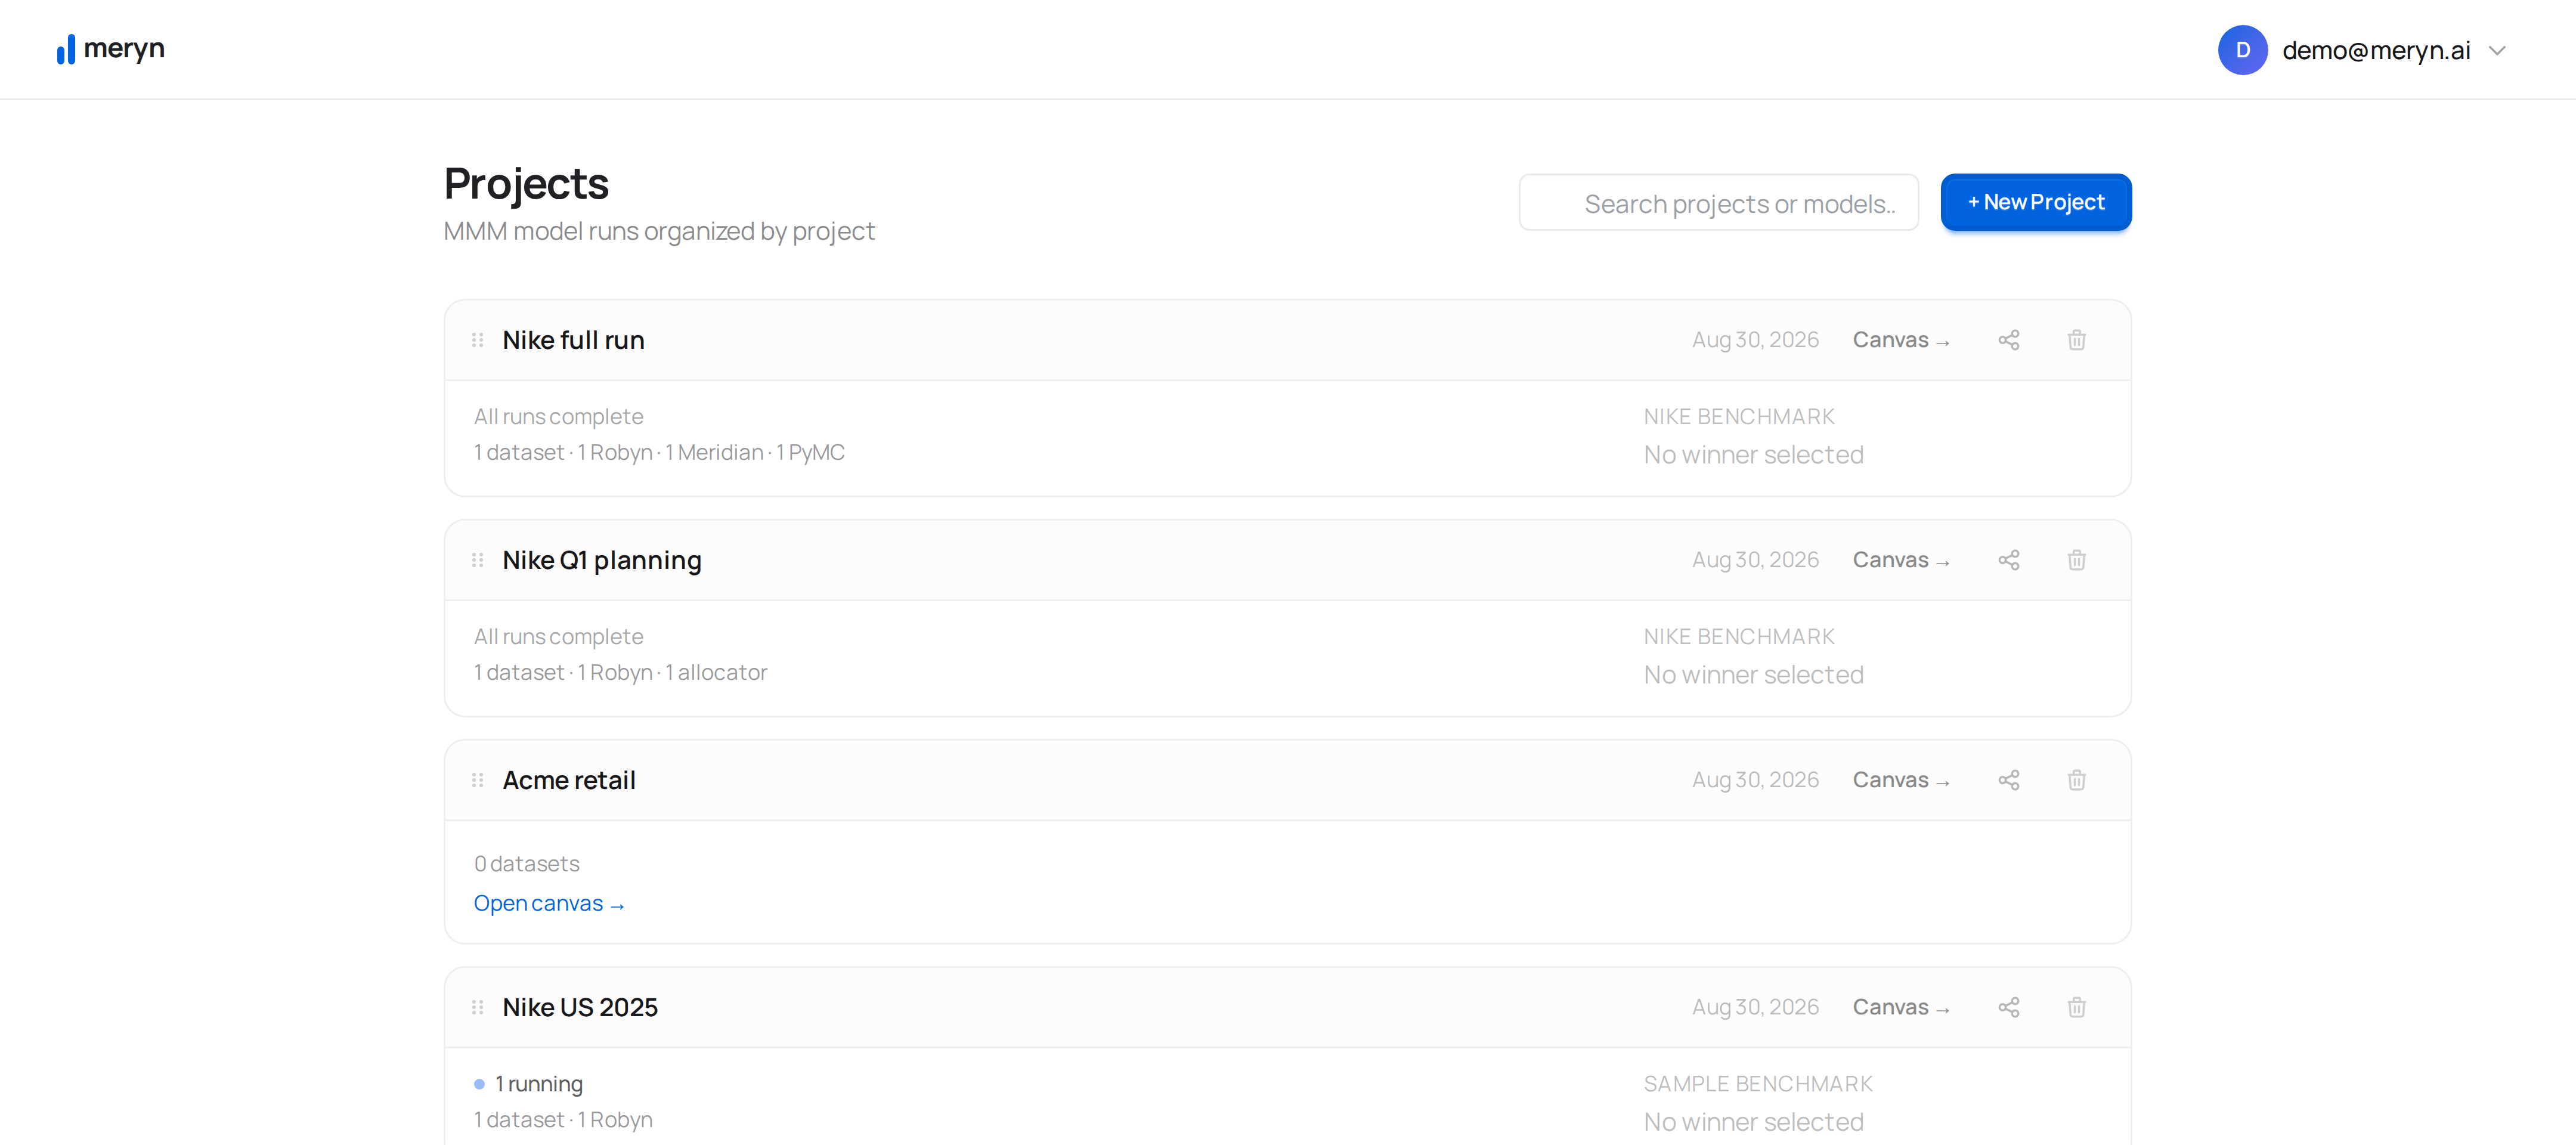
From Projects, click New project and give it a name — usually the client or the question you're answering ("Q3 budget reallocation").
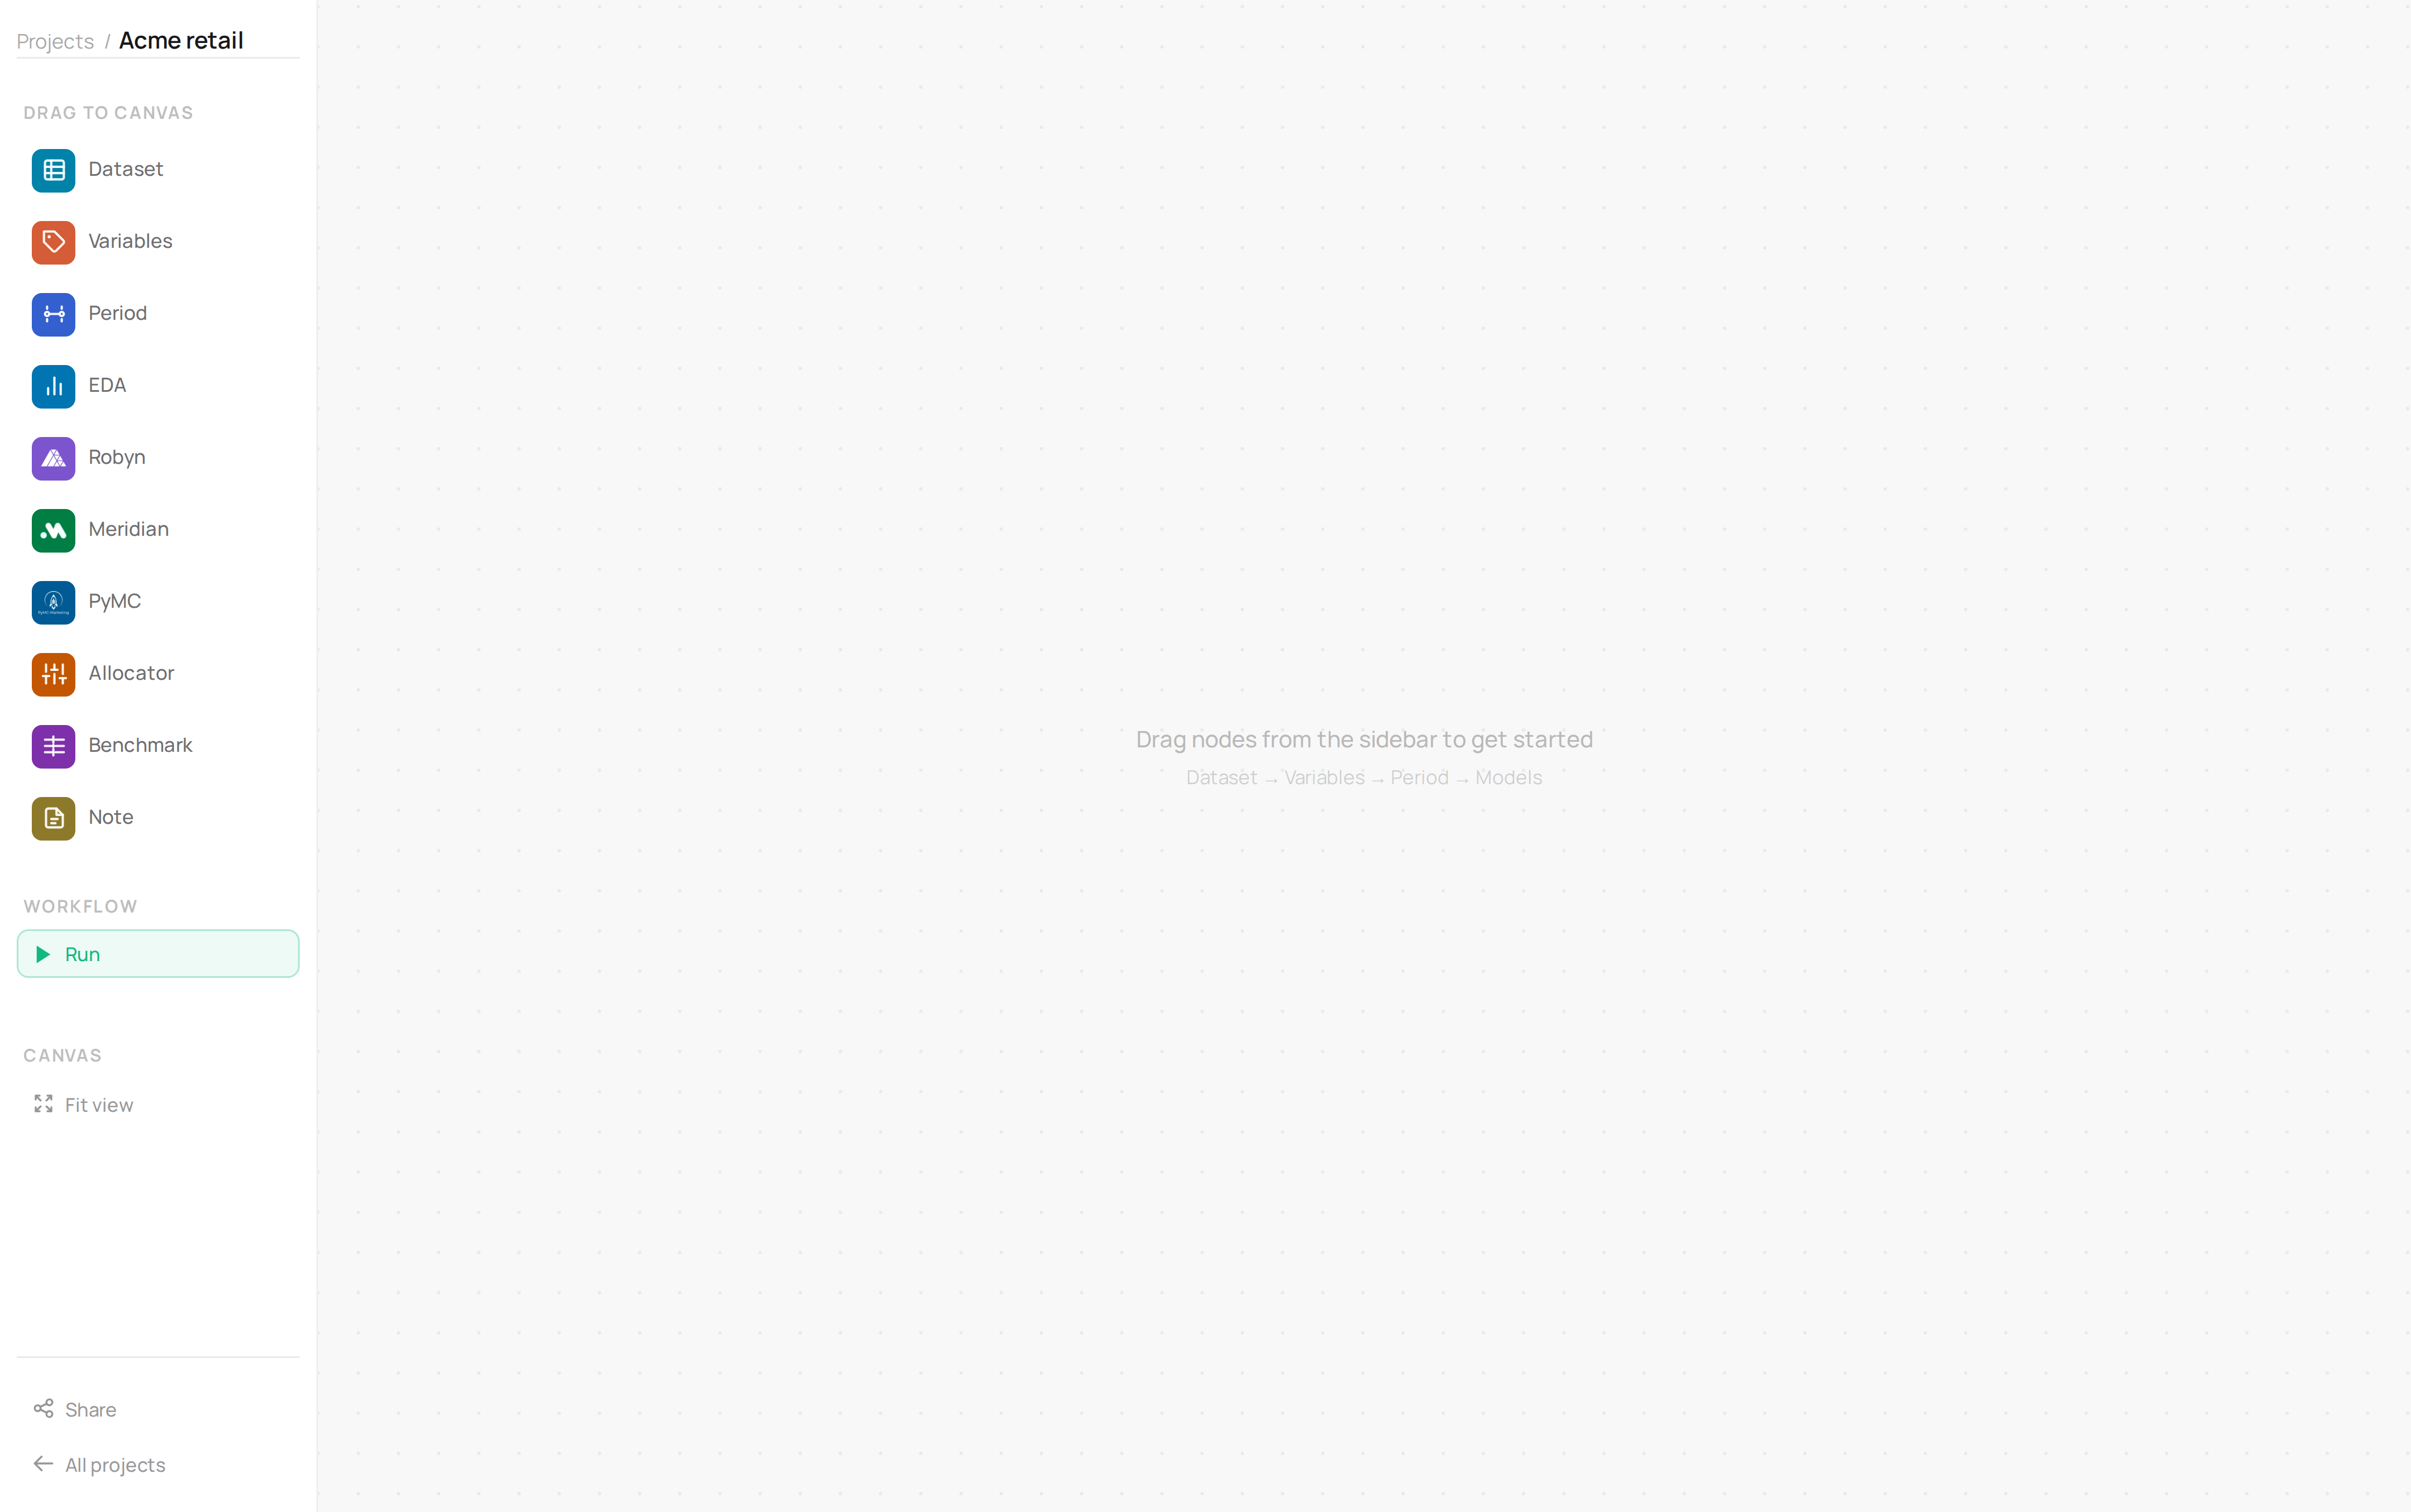
You land on an empty canvas:
2. Add a Dataset
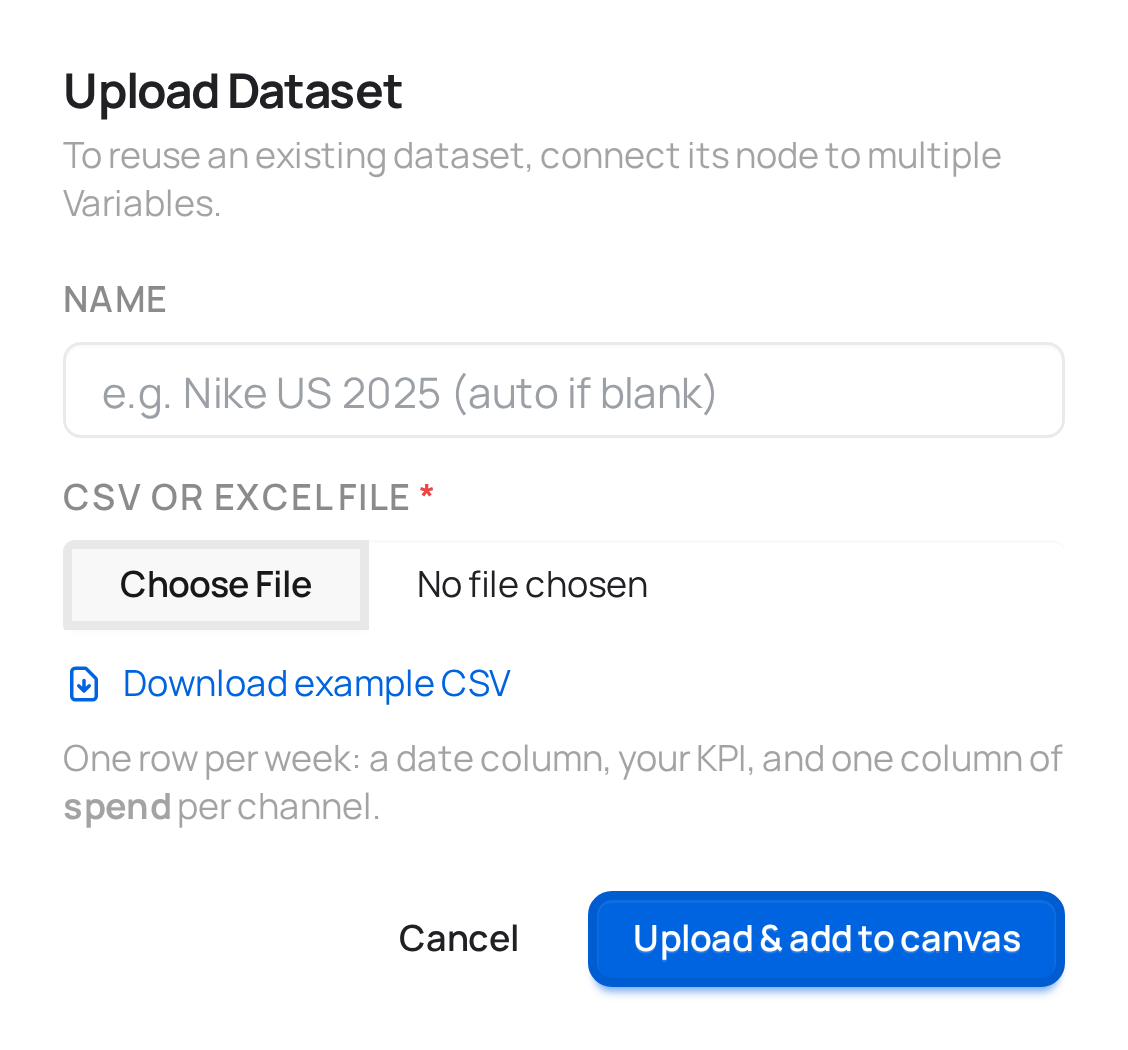
Drag a Dataset node onto the canvas and upload a CSV: one row per date, one column per channel or metric (spend, revenue, impressions...). If you don't have a file handy, the dataset modal has a Download example CSV button — pull that down to see the shape meryn expects.
Every node works the same way — drag it off the sidebar, drop it on the canvas, and its configuration opens:
After the upload your canvas has its first node:

There's no configuration here beyond the file itself — a Dataset node is just what it says on the tin. Full detail: Dataset.
3. Connect Variables and map your columns
Drag a Variables node and connect the Dataset's output into it. This is where you tell meryn what each column means — which one is the date, which one is the outcome you're modeling (revenue, conversions...), which ones are paid media, which are organic or contextual factors. Nothing downstream can be built without this step; it's the translation layer between your raw file and every engine's assumptions.
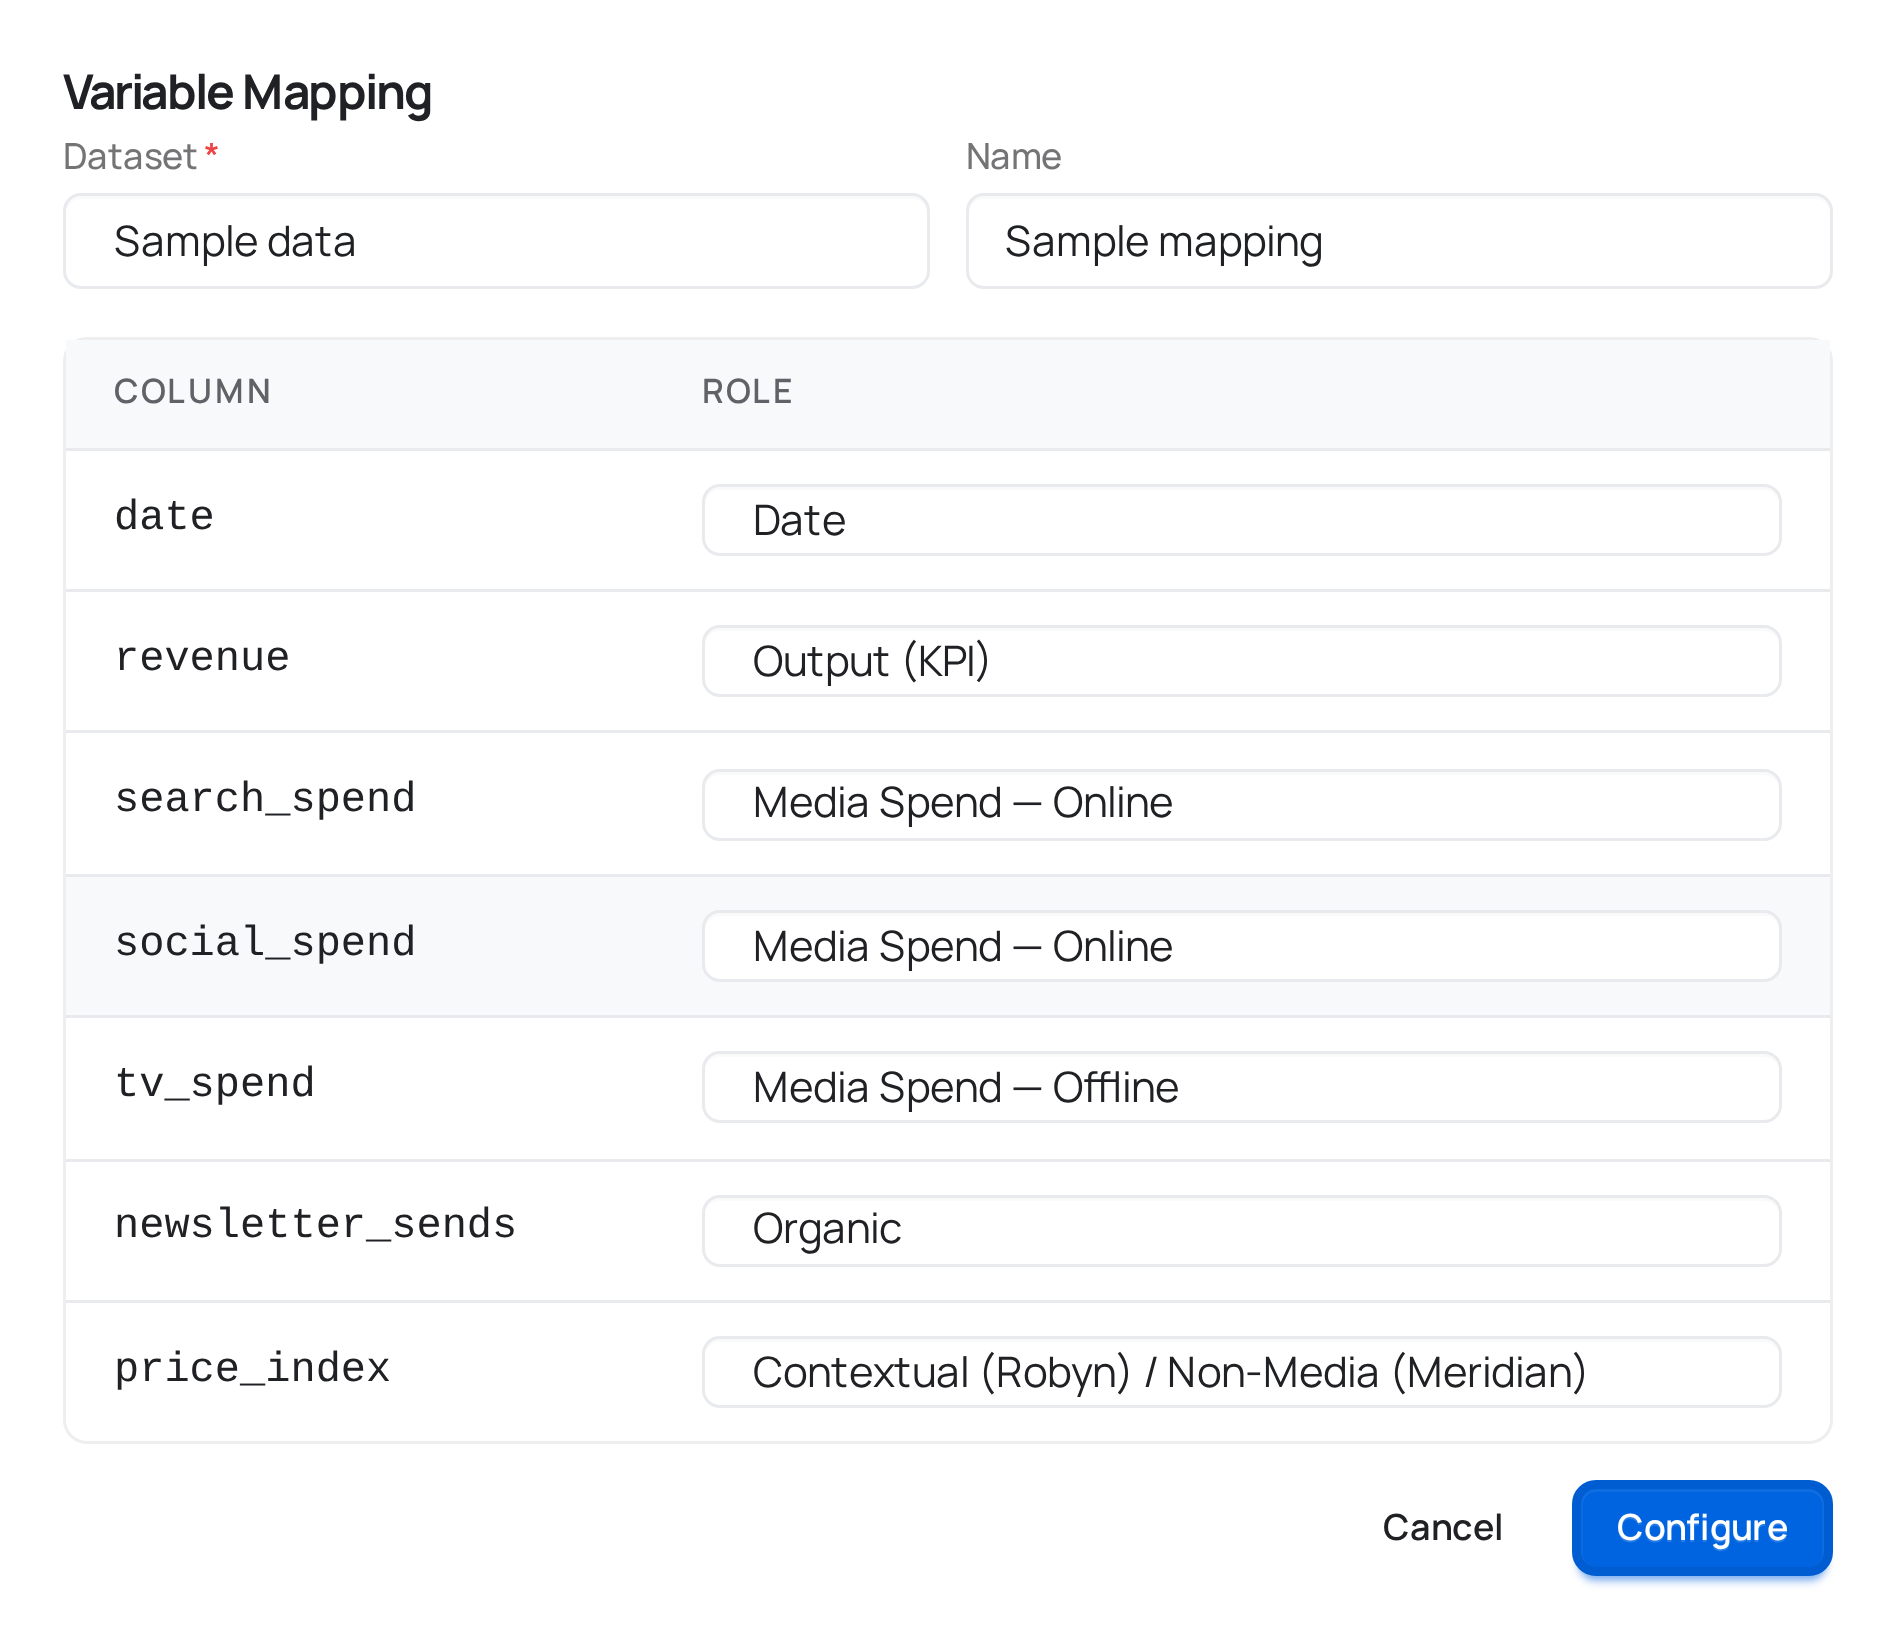
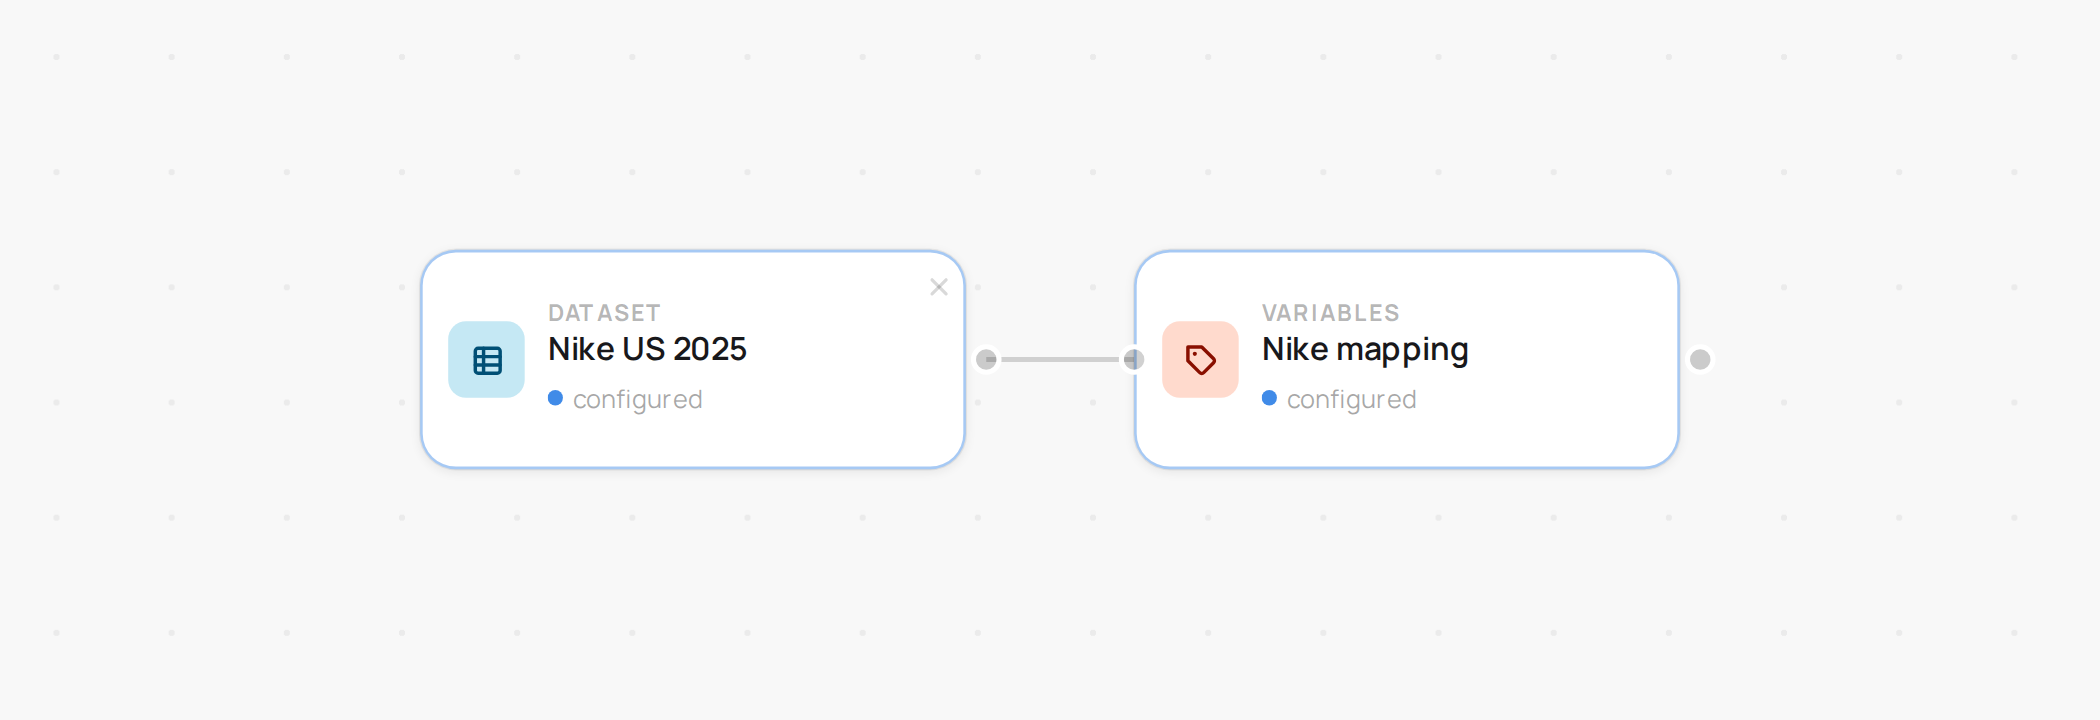
Full detail on every column role: Variables.
4. Connect Period and pick a date range
Drag a Period node off Variables and choose the start and end date to train on. meryn pre-fills the full range your data covers — narrow it if you want to exclude a launch period, a stockout, or anything else that would distort the fit.
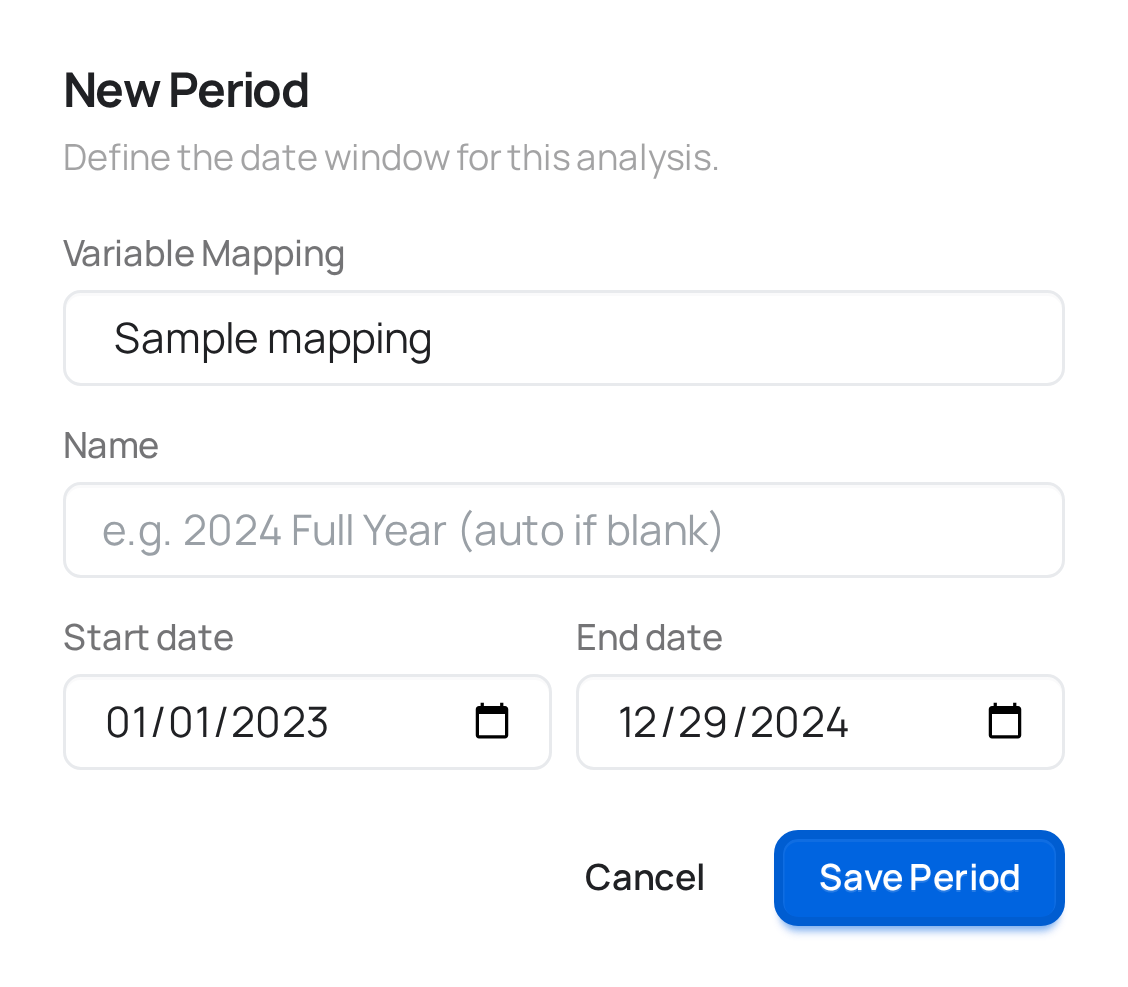
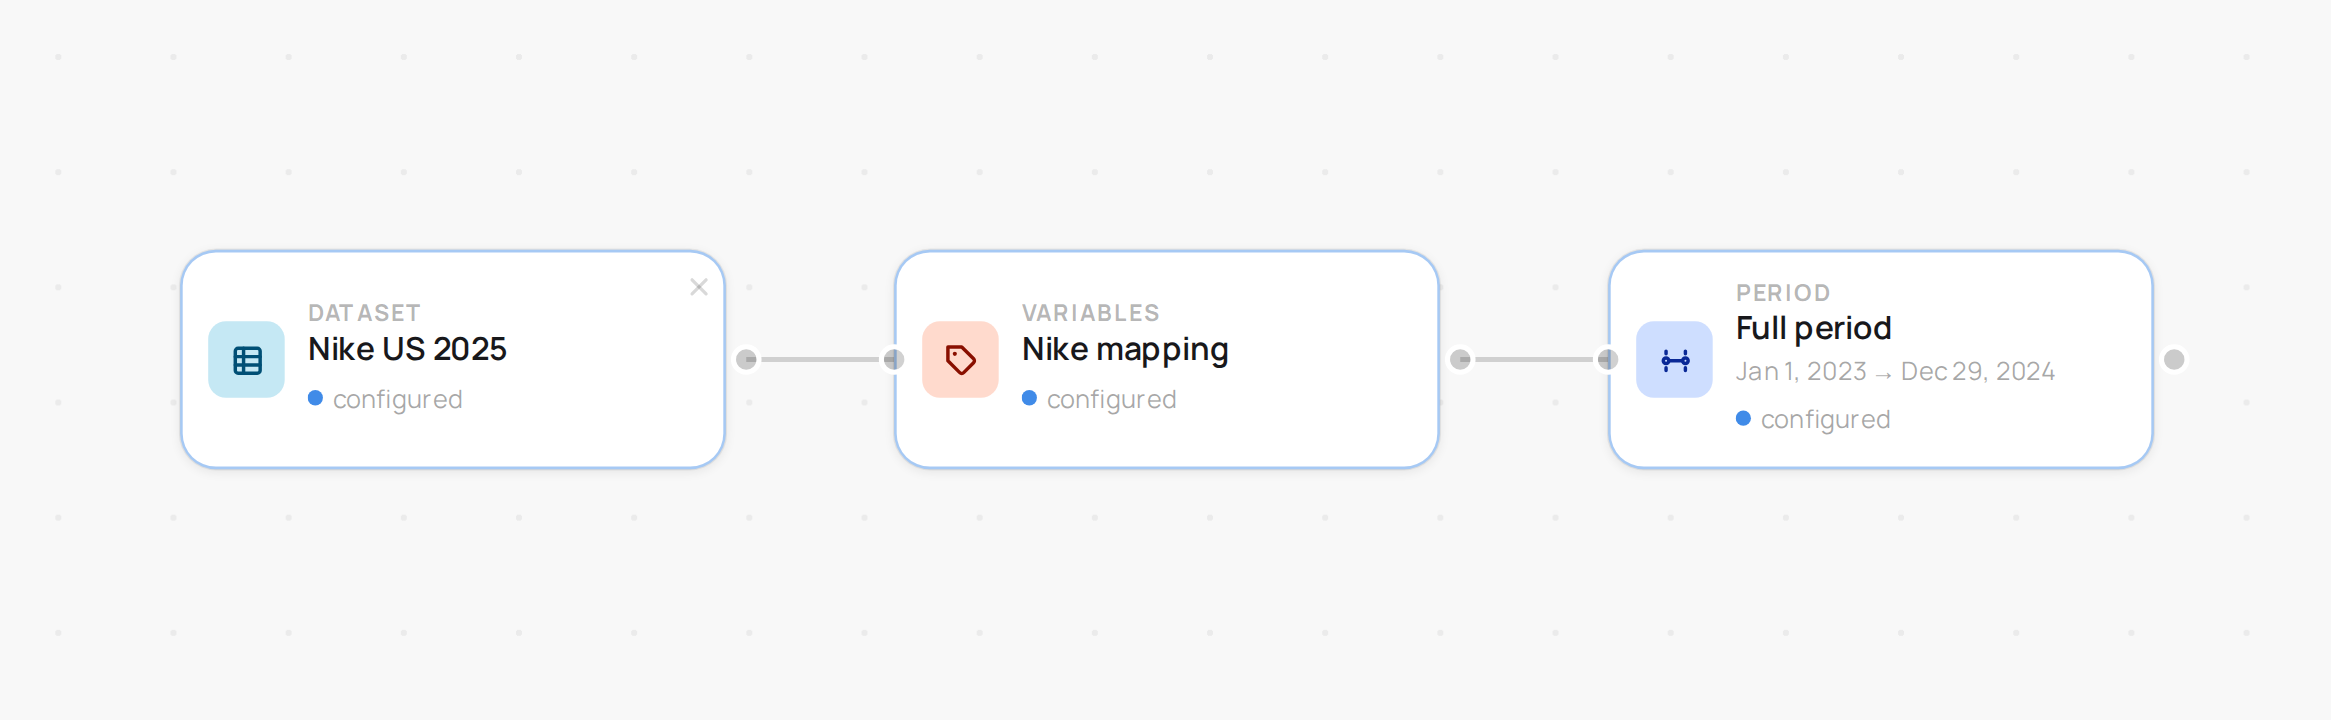
Full detail: Period.
5. Connect a model and configure it
This is the step with real decisions in it. Drag one of the three engine nodes — Robyn, Meridian, or PyMC — off Period and open it. Each engine has its own configuration modal and its own page in this reference; if you're not sure which to start with, Robyn is the fastest to get a first result from and a reasonable default for a first pass.
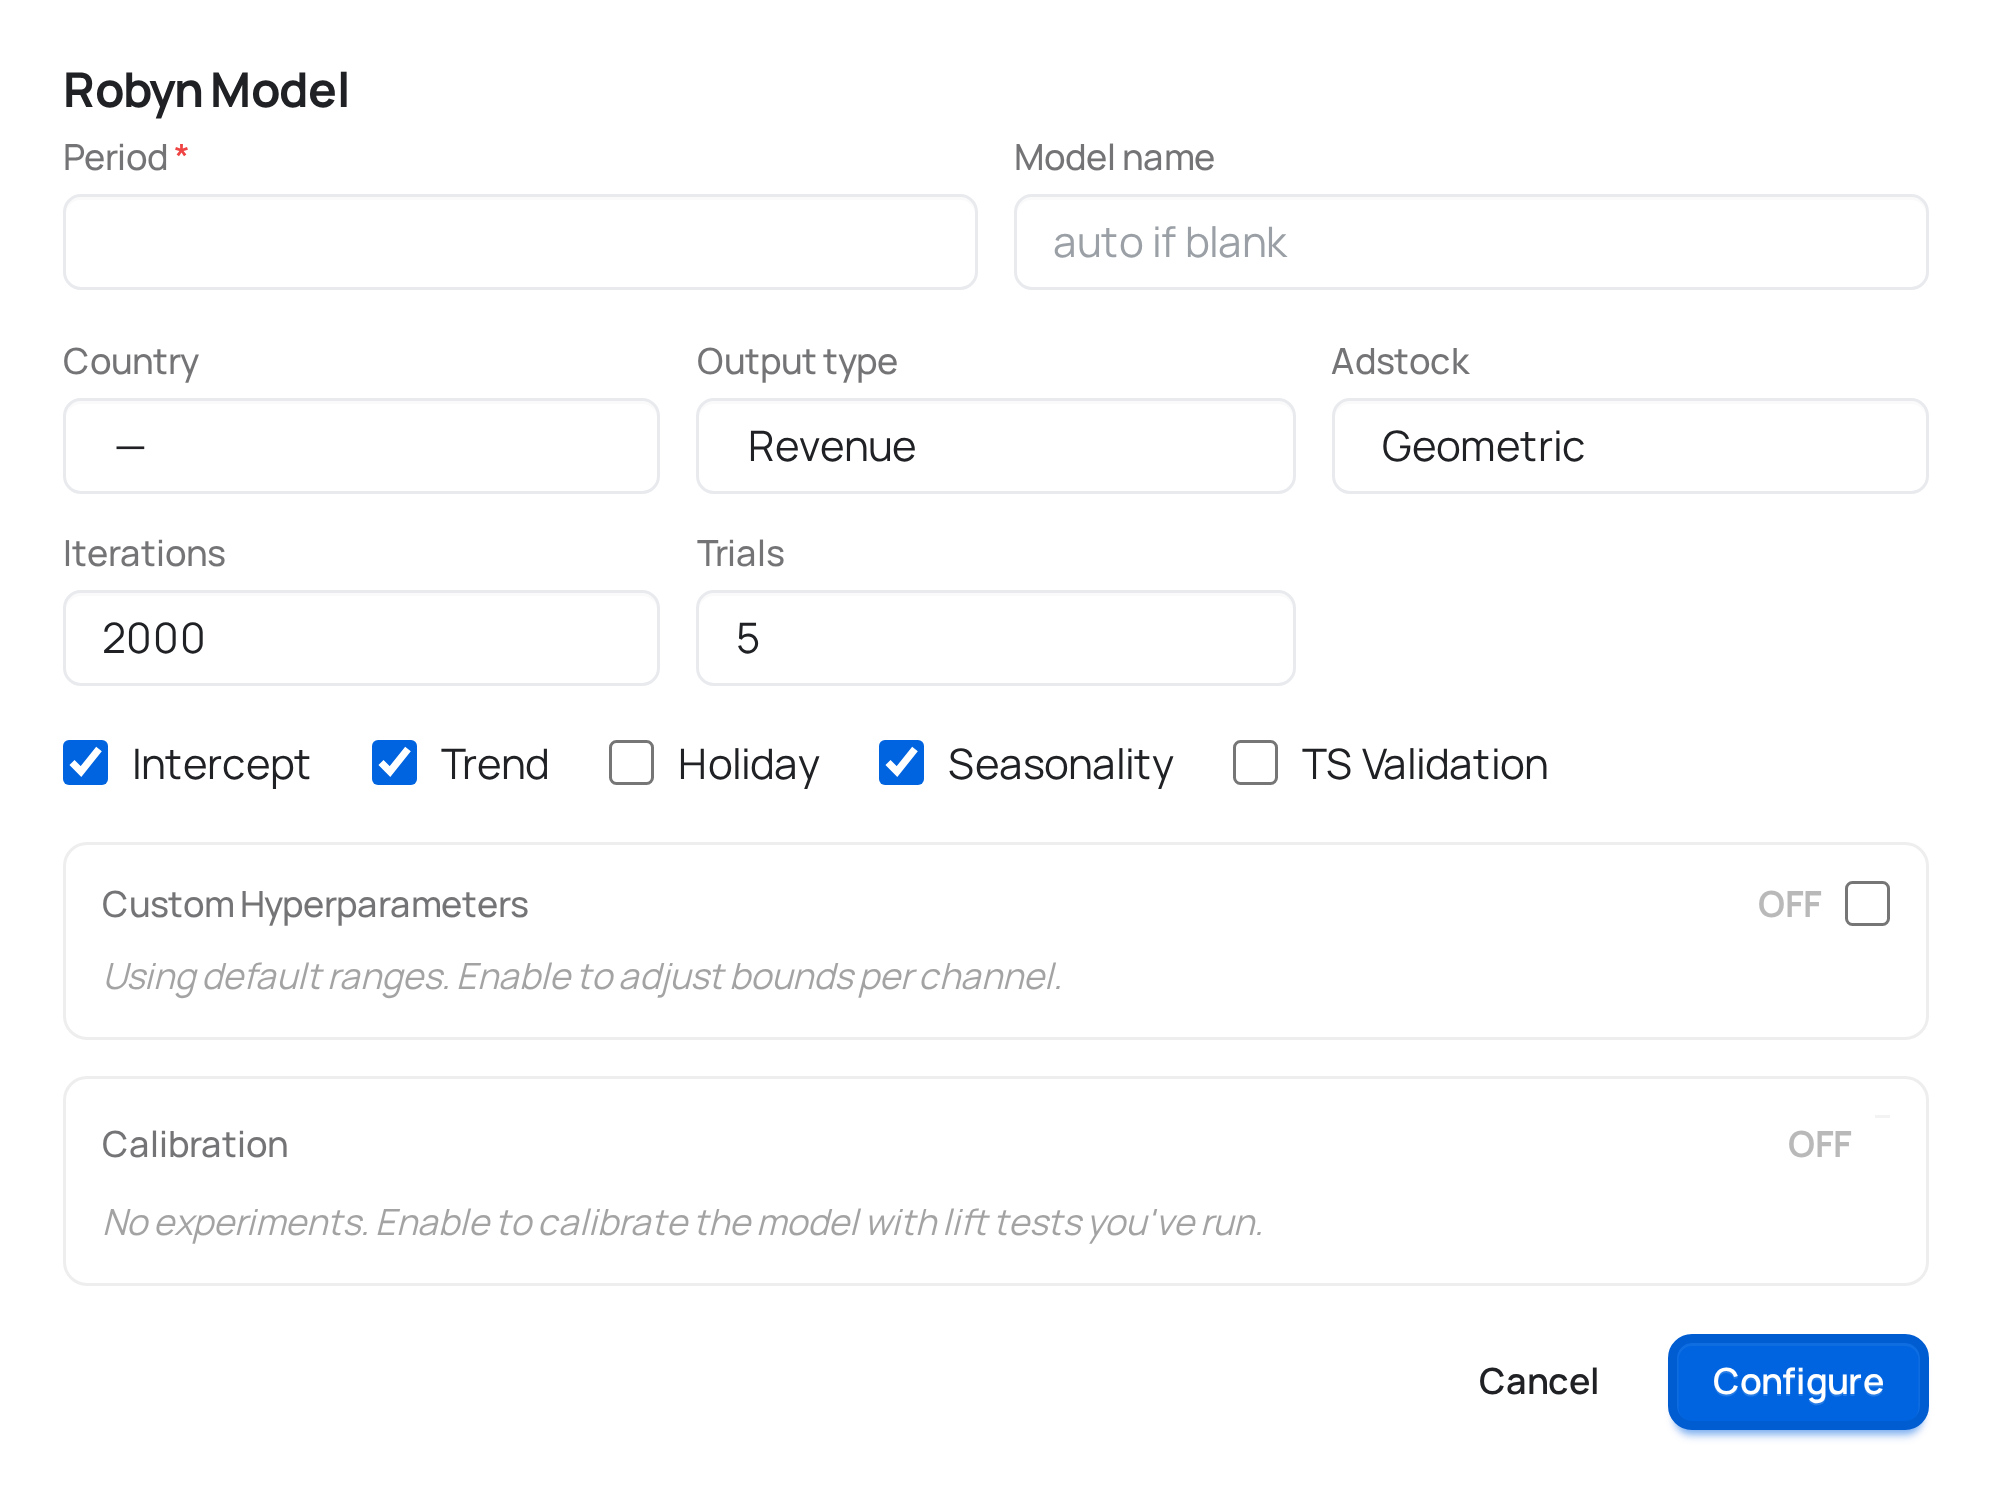
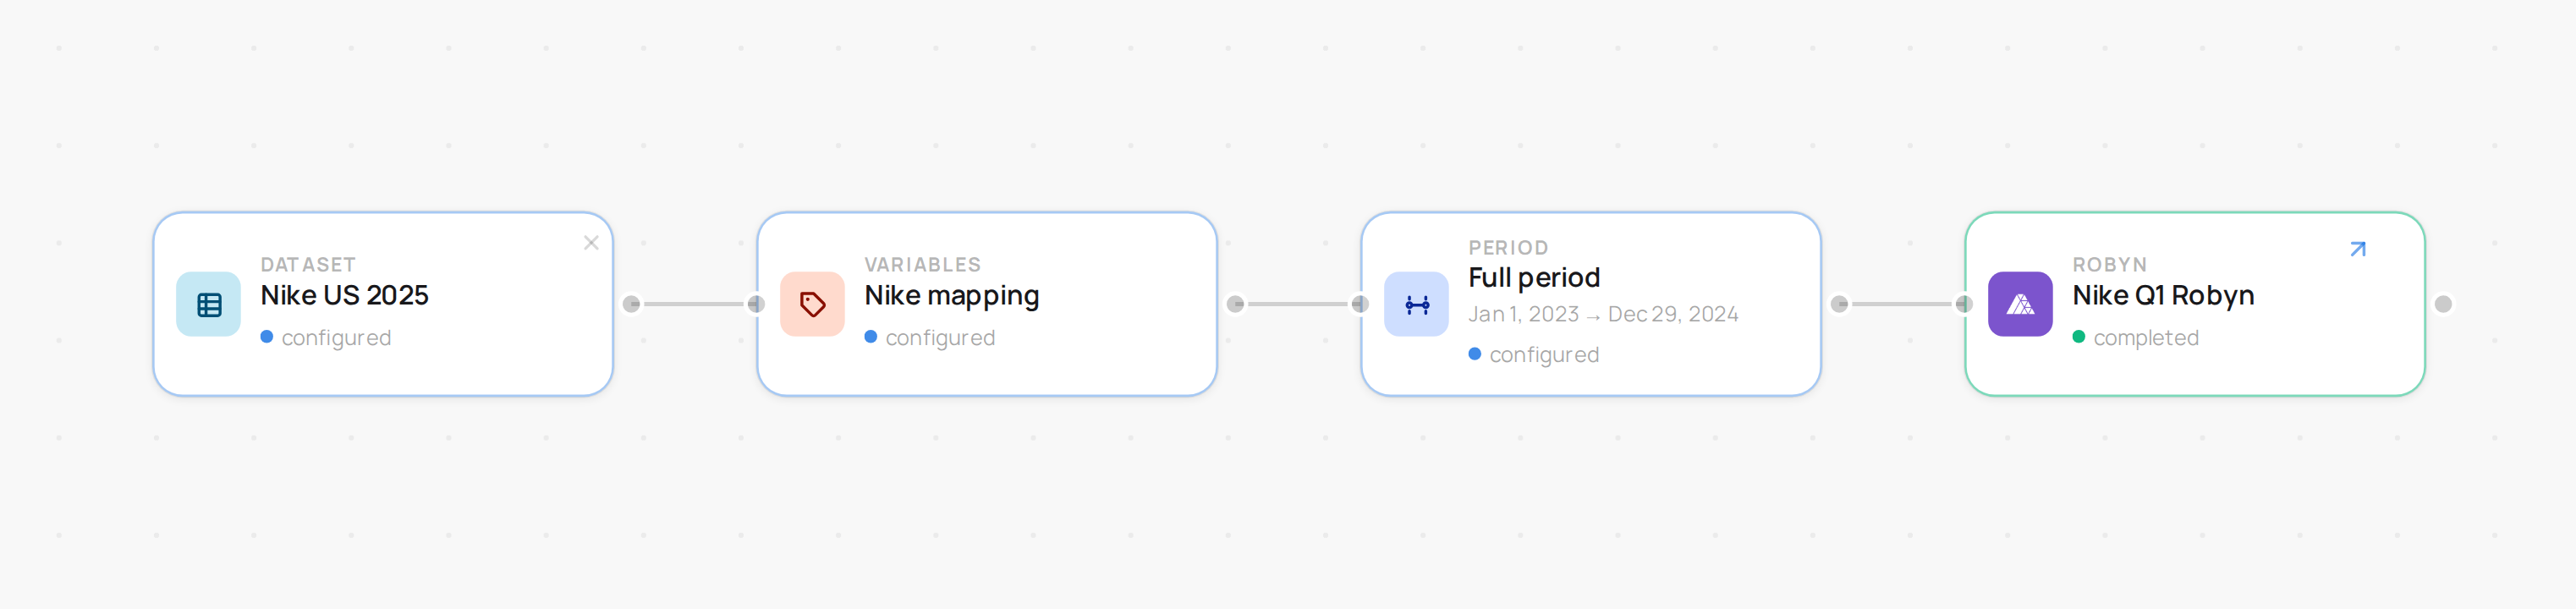
Click Save, then Run. The node turns from "configured" to "processing" — click it to open the progress drawer and watch the live log while it trains.
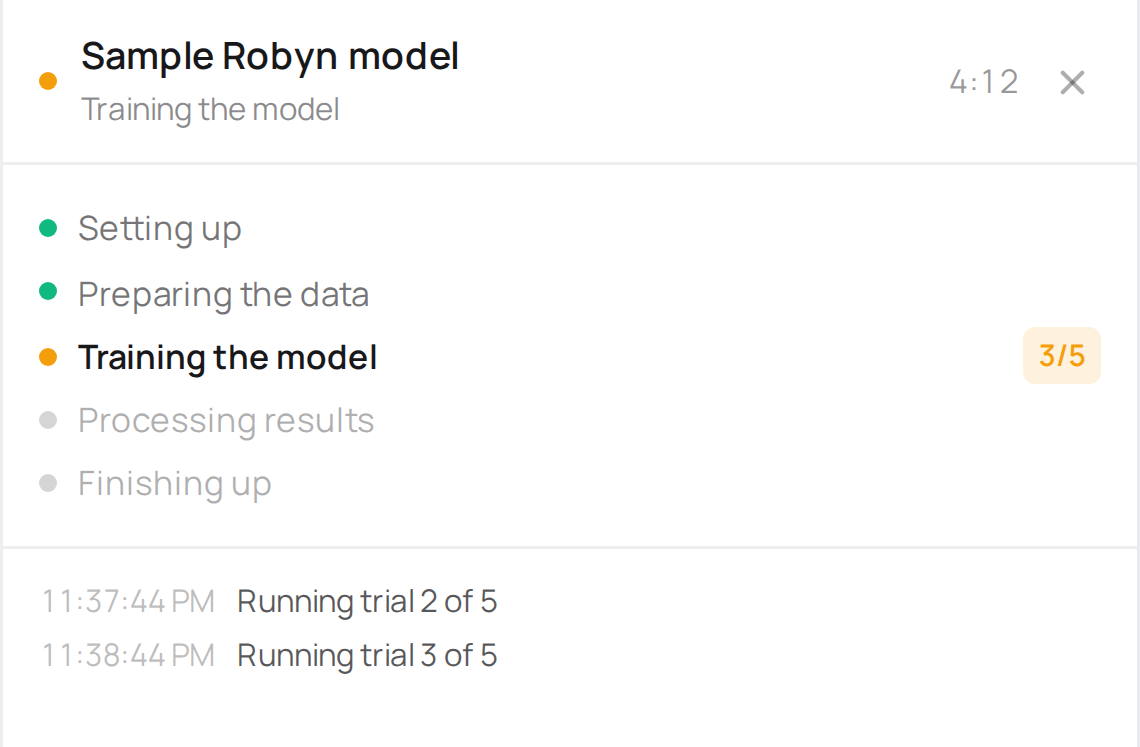
When it finishes, click the node and choose View results to see fit quality, channel contributions over time, response curves, and ROI.
Full detail on every parameter: Robyn · Meridian · PyMC-Marketing.
6. Connect an allocator
Once a model is trained, drag an Allocator node off it. This is where you turn "here's how each channel performed" into "here's what to spend on each channel next." Pick a scenario — maximize response for a fixed budget, or hit a target efficiency — and run it the same way as the model.
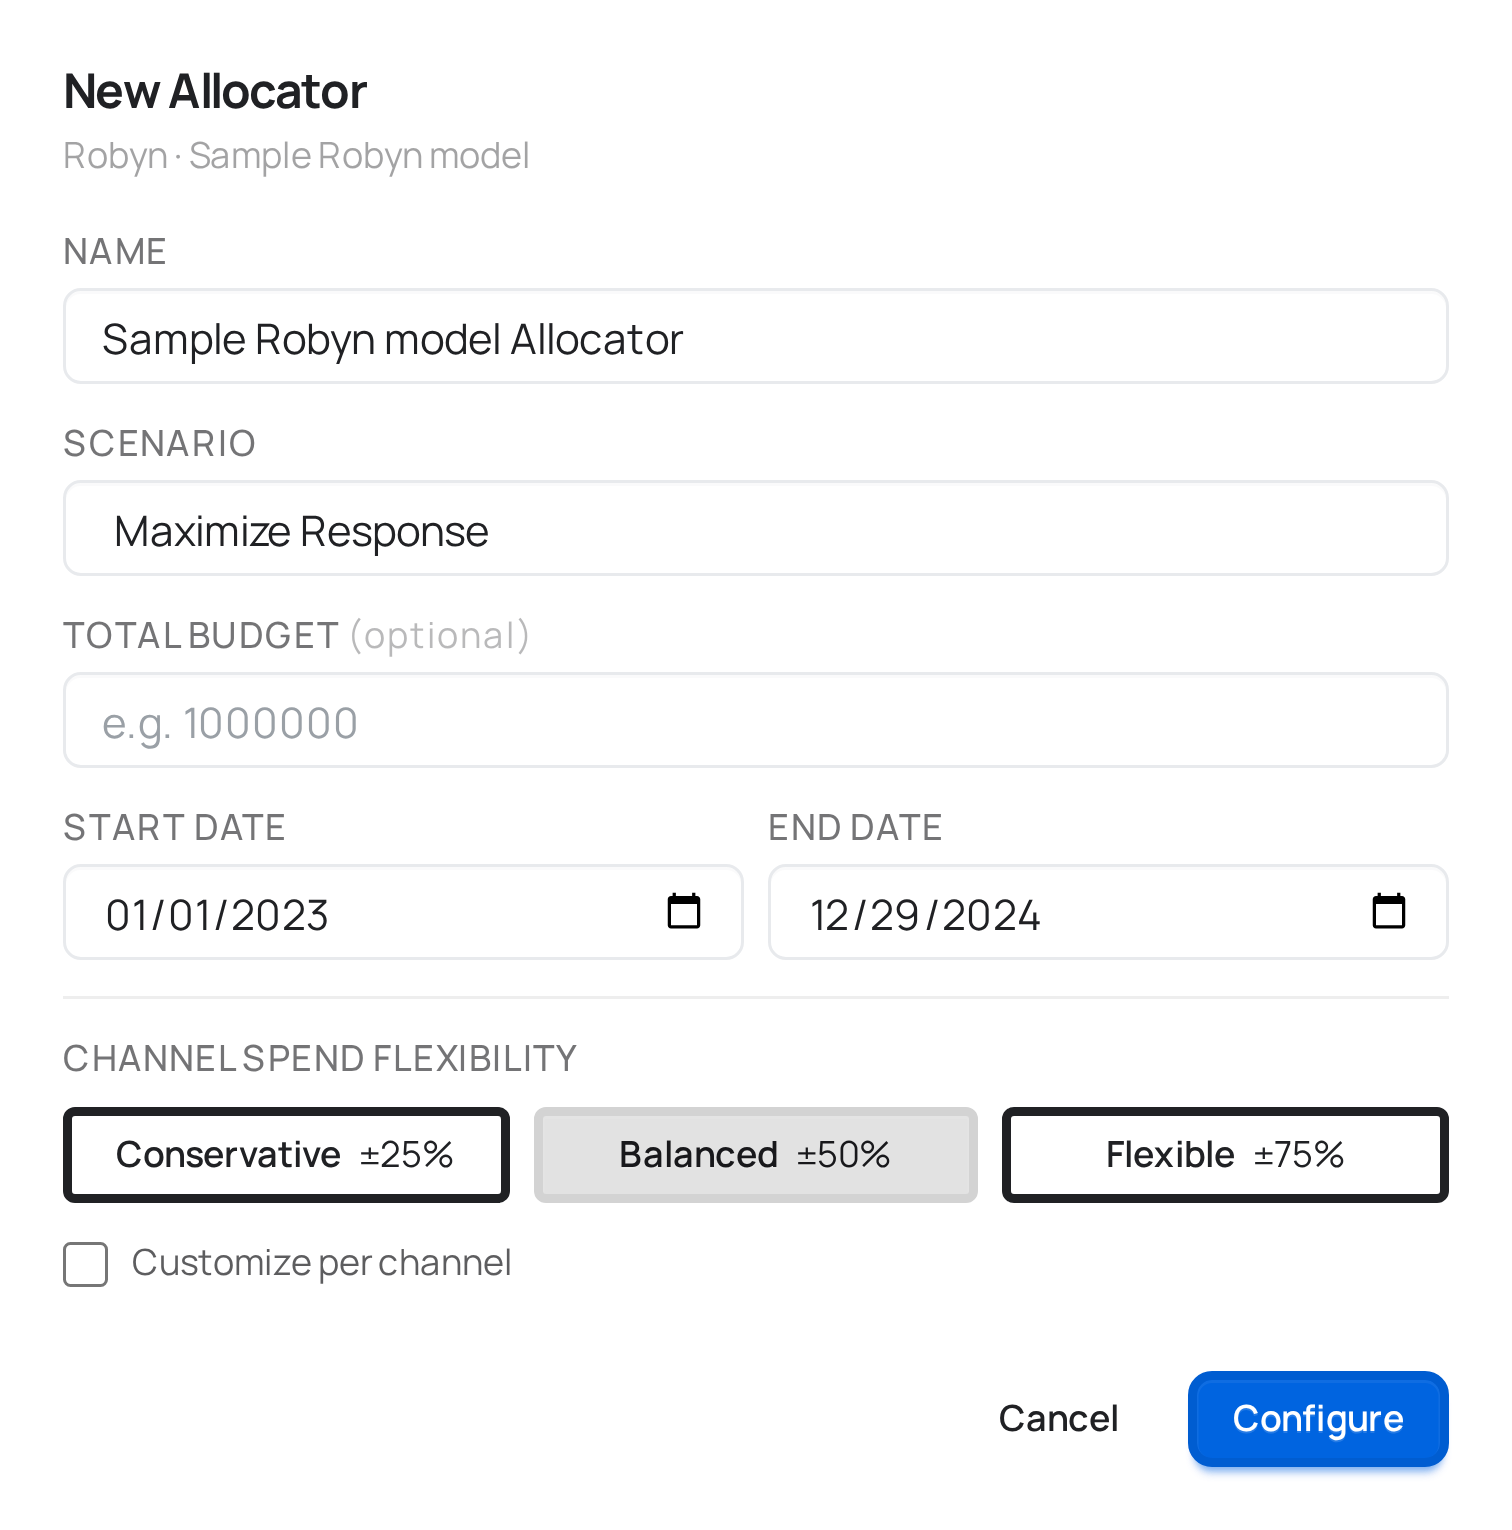

Full detail: Budget allocator.
7. Connect a Benchmark and choose a winner
Drag a Benchmark node and connect every model and allocator you want to compare into it — you can run more than one engine on the same data and let the Benchmark line them up side by side. Open Compare to see them together, then set one model (and its allocator) as the winner.

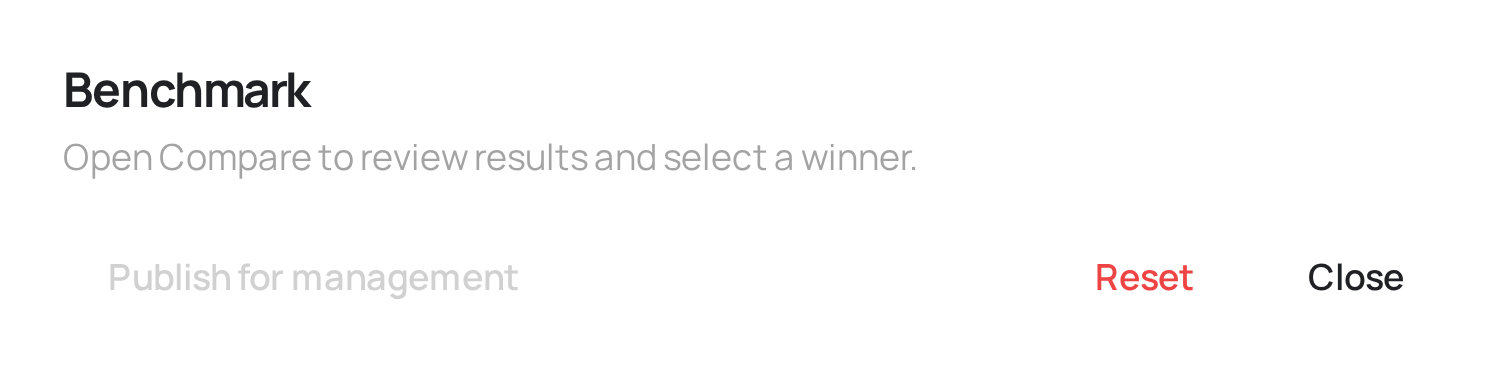
Full detail: Benchmark and Comparing models & choosing a winner.
8. Publish and share
Choosing a winner doesn't show it to anyone by itself — Publish does. From the Benchmark node, publish the flow to generate a read-only link you can hand to a client, or invite specific people as guests. Nobody sees your drafts or the models that didn't win; the published view only ever shows the current winner.
Full detail: Sharing & publishing.
That's the whole loop. Everything past this point in the docs is going deeper on one node or one concept at a time — start with The canvas if you want to understand statuses, connection rules, and what "Run" and "Configure again" actually do before diving into individual nodes.